
金恒创新服务
Innovative Services
-
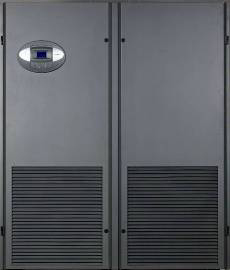
 华体会体育(中国)有限公司官网空调
金恒创新华体会体育(中国)有限公司官网空调主要品牌有海瑞斯华体会体育(中国)有限公司官网空调,艾默生华体会体育(中国)有限公司官网空调...华体会体育(中国)有限公司官网
华体会体育(中国)有限公司官网空调
金恒创新华体会体育(中国)有限公司官网空调主要品牌有海瑞斯华体会体育(中国)有限公司官网空调,艾默生华体会体育(中国)有限公司官网空调...华体会体育(中国)有限公司官网 -
 华体会体育(中国)有限公司官网监控
华体会体育(中国)有限公司官网环境及动力设备监控系统主要是对华体会体育(中国)有限公司官网设备(如供配电...华体会体育(中国)有限公司官网
华体会体育(中国)有限公司官网监控
华体会体育(中国)有限公司官网环境及动力设备监控系统主要是对华体会体育(中国)有限公司官网设备(如供配电...华体会体育(中国)有限公司官网 -
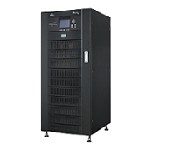
 UPS电源
本公司销售各类UPS电源,UPS电源报价公正。本公司承诺...华体会体育(中国)有限公司官网
UPS电源
本公司销售各类UPS电源,UPS电源报价公正。本公司承诺...华体会体育(中国)有限公司官网 -
 维修保养
华体会体育(中国)有限公司官网空调维保事业部专门从事华体会体育(中国)有限公司官网专用空调维护、保养、大修...华体会体育(中国)有限公司官网
维修保养
华体会体育(中国)有限公司官网空调维保事业部专门从事华体会体育(中国)有限公司官网专用空调维护、保养、大修...华体会体育(中国)有限公司官网
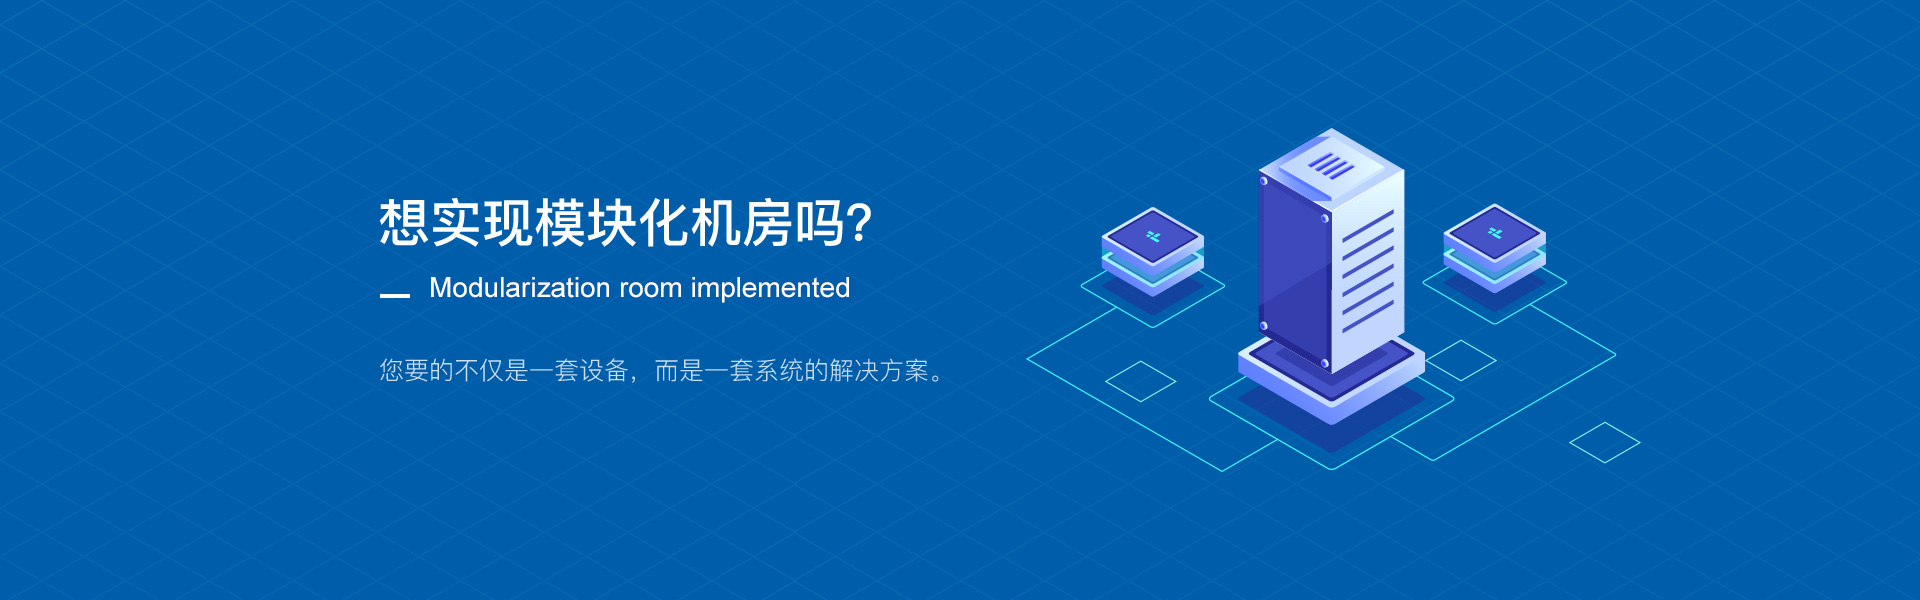
有限公司官网建设项目")


有限公司官网")
有限公司官网建设")


关于我们
About Us
公司简介
Company Profile
华体会体育(中国)有限公司官网位于中关村高科技园区,是一家全方位提供华体会体育(中国)有限公司官网解决方案的专业工程公司,公司下设UPS电源事业部、精密空调事业部、防雷产品事业部、发电机组事业部、华体会体育(中国)有限公司官网整体建设事业部、精密空调维保事业部、工程设计部、蓄电池部。 公司拥有一批由大本、硕士、博士组成的开发、管理和营销队伍,并与清华、北大等著名科技...
华体会体育(中国)有限公司官网

-

- 精密空调,让你轻松冷却炙热的工作心情 2024-03-15
- 华体会体育(中国)有限公司官网空调:令你的服务器心无旁骛 2024-03-12
- 精密空调的未来发展趋势 2024-03-11
- 预防华体会体育(中国)有限公司官网空调故障的维护措施 2024-03-08
- 华体会体育(中国)有限公司官网空调:保护你的数据,守护你的业务 2024-03-07
- 华体会体育(中国)有限公司官网空调维护101:保护您的服务器寿命 2024-03-06
-
华体会体育(中国)有限公司官网空调:实现设备空气调控的最佳利器华体会体育(中国)有限公司官网空调的重要性及作用 华体会体育(中国)有限公司官网空调被广泛认为是实现设备空气调控的最佳利器。在现...25次 2024-03-19
- 精密空调,让你拥有工作自由度的享受 2024-03-18
- 华体会体育(中国)有限公司官网空调的节能优势及应用前景 2024-03-18
- 华体会体育(中国)有限公司官网空调对硬件设备寿命的影响 2024-03-15
- 稳定工作环境:华体会体育(中国)有限公司官网空调的利器 2024-03-14
- 精密空调:为华体会体育(中国)有限公司官网带来的超乎想象的效果 2024-03-14
- 精密空调的奥秘:无可替代的华体会体育(中国)有限公司官网冷却神器 2024-03-13


 在线咨询
在线咨询
 电话咨询
电话咨询